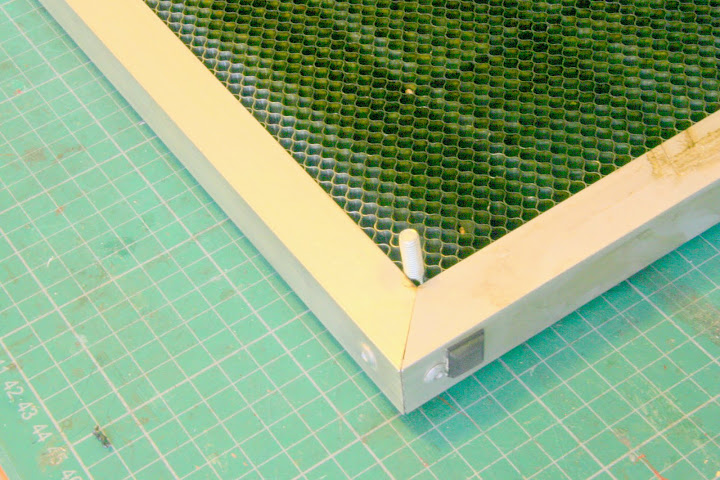
I found a couple of set screws with would just poke through the mesh (held in place by friction) and were shorter than surrounding metal of the laser mechanism (or it would hit them!).
These offer something to grip to remove the mesh bed.
Underneath I've then stick some rubber feet - needed a couple on top of each other.
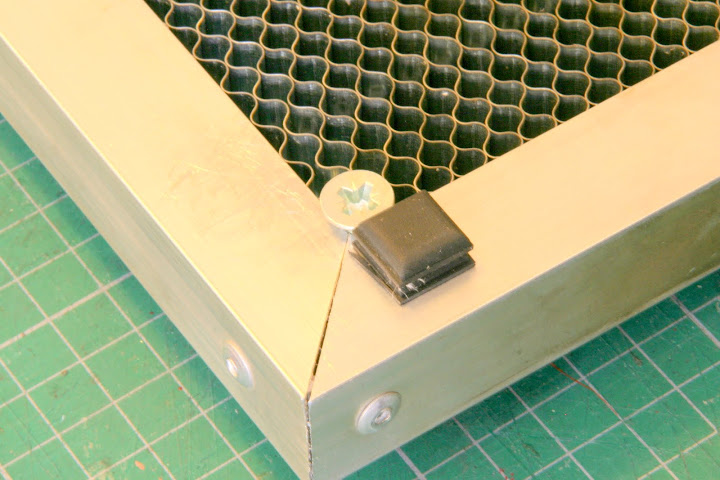
At the front of the unit I've stuck further feet underneath and also at the very front and right-hand sides.
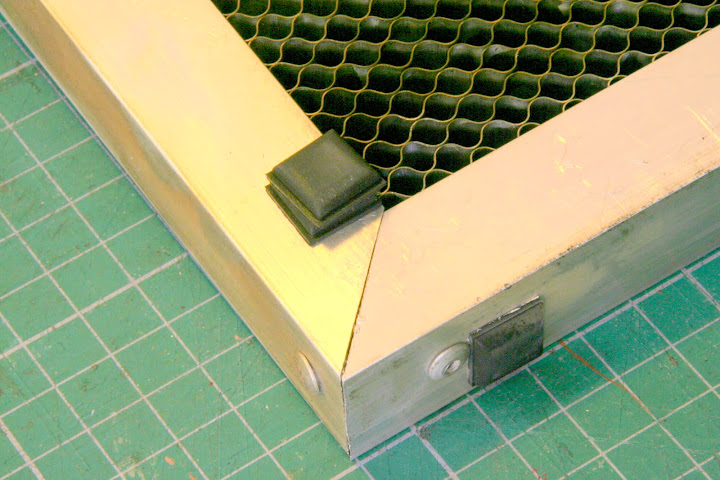
When replacing the mesh bed it can be pushed as far away from you as possible and to the right. This positions the bed in relation to the laser head so that consistent positioning is possible.
Now the unit can easily be removed by holding the set screws. It sits on the rubber feet rather than 'metal-to-metal' and there is less 'rattle and vibration' from the laser when operating (I found that when the air pump was switched on the mesh bed rattled and buzzed - now it doesn't).
I use a lot of A4 card and I can now use these two set scew 'posts' as a reference point by ensuring the card is always pulled back to touch them. This makes it easier to replicate jobs each time. The mesh bed is always pushed fully forward and to the right until the two front rubber feet and the two right-hand feet make contact as shown below.

I've also put my air pump on some foam rubber which ensures it runs as quietly as possible.
Hopefully shouldn't have any impact onthe warranty as all the bits are removable. Just remember the set screws need to be below the surrounding metal or the laser head will hit them!