The very last thing to consider is what you are cutting.
Use cast material if you have a choice. It is very stable, has a lower hydroscopic character (IMHO) and present you the easiest set of challanges. In other words give yourself the best chance.
When setting up the mirror alignment clean as you go, heated dust will produce burnt ash that can settle anywhere, buy a blower brush like the camera guys use, a light dusting everyday will keep the power up.
If you are making good cut depth with little power then you don't have any worries. The huge advantage of a forum like this is to see how others do things and set up some bench marks for yourself. One of the first signs of a problem is having to keep turning up the power and / or lower the speed. Every time I show a job I will always state my machine & settings to guide others and set the bench mark. I am making a test rig with a visible laser to help me with mirror alignment as it's nice to use a red dot laser pointer and make adjustments "live". As soon as I have firmed up the design I will publish a build your own version here.
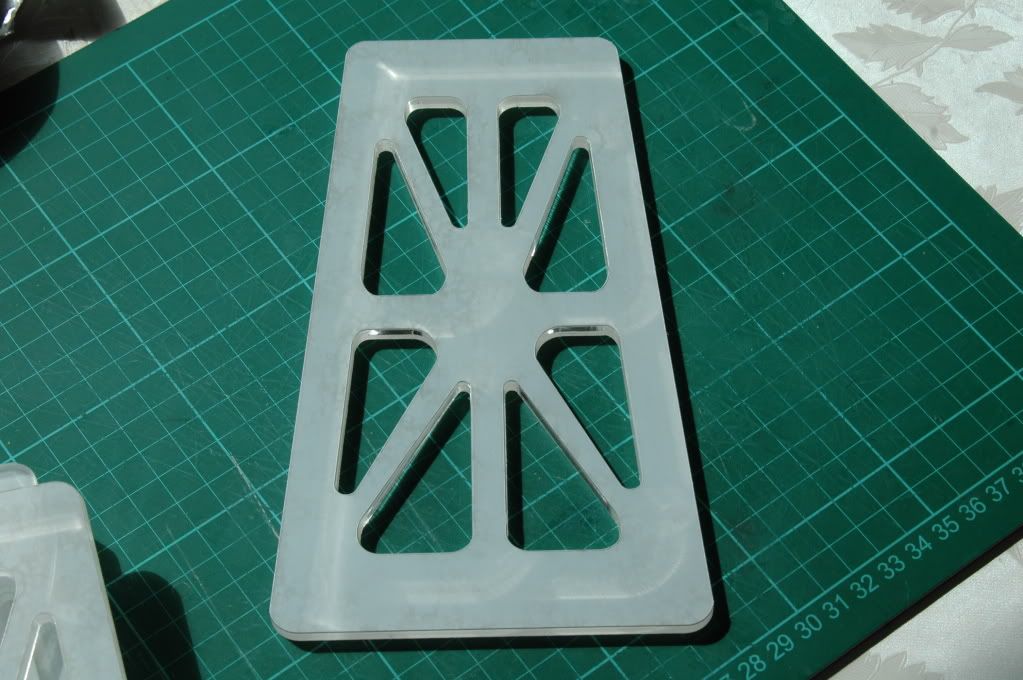
Here are a few images to illustrate as it's easier to show than tell. It takes a moment to check alignment, first cut some test pieces from clear acrylic you will need a square 41 mm across if you have the same lens stack as my machine (LS6090) obviously modify the idea to suit. Luckily on my machine there is a lip right before the last mirror.
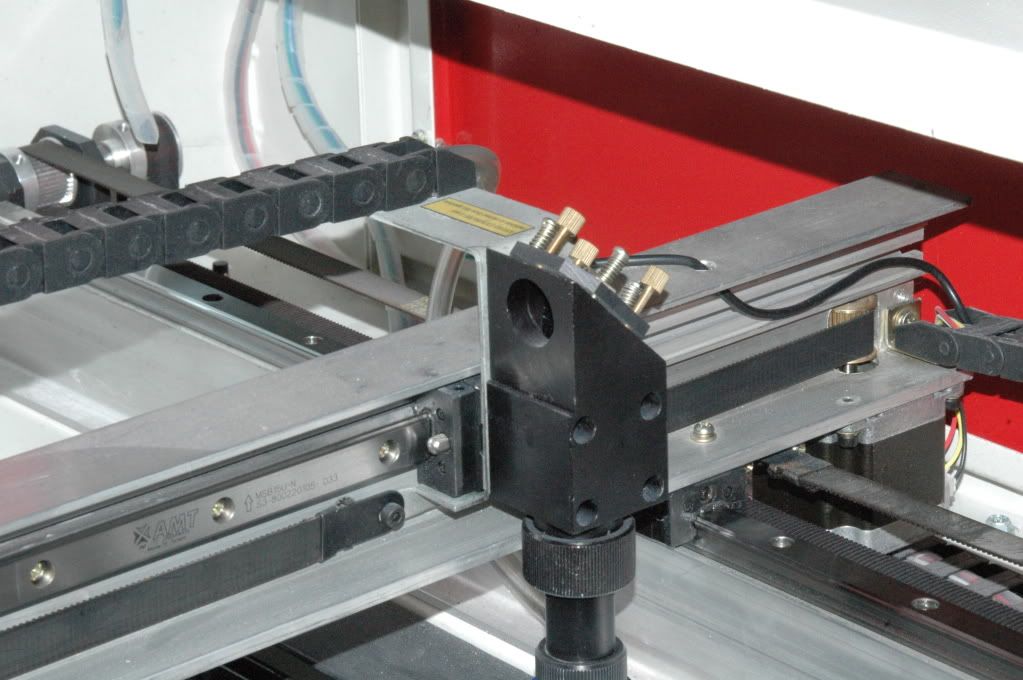
Place the square flush against the mirror aperture, my machine is totally level so it luckily it balances there - never ever under
ANY circumstances hold it there, use a little masking tape if needed. Fire the laser via the keypad once and it will fog a witness mark on the square where it enters the lens stack:
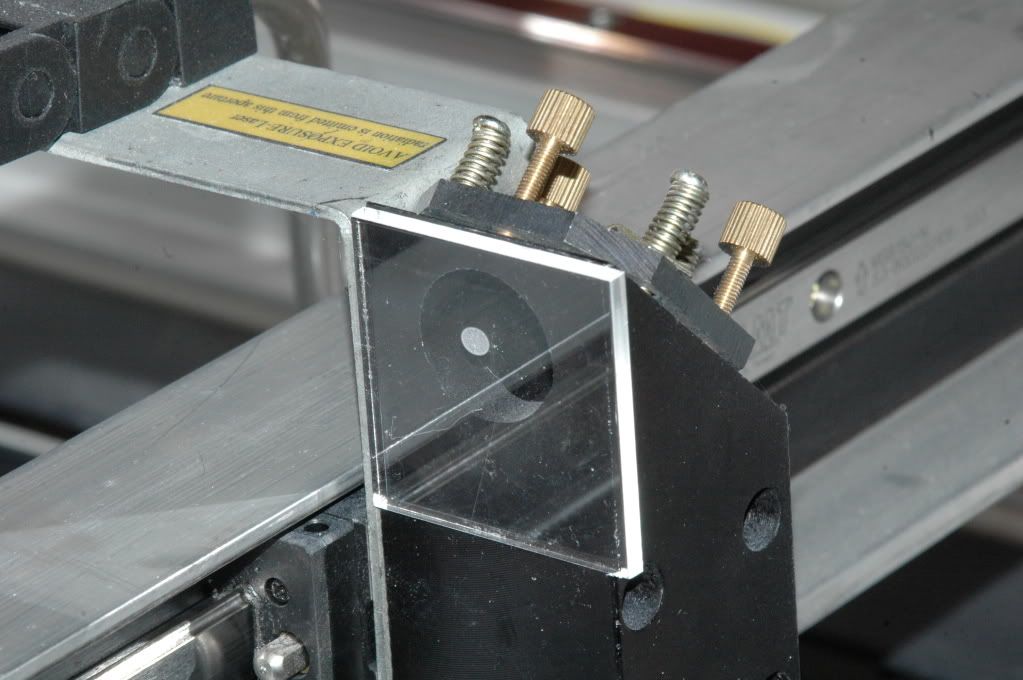
Turn the machine off and before moving it take a look where it lies in relation to the hole, you are looking for a circular shape perhaps 5 - 6 mm across and in an ideal world it would lie directly over the center of the hole. If not replace it and adjust the second mirror via the brass screws behind the mirror assembly, make small adjustments turning just one screw a little and firing the laser again, note which way the beam has moved, adjust and test again, remember small movements perhaps only a 5 degree turn of the brass screw in one operation
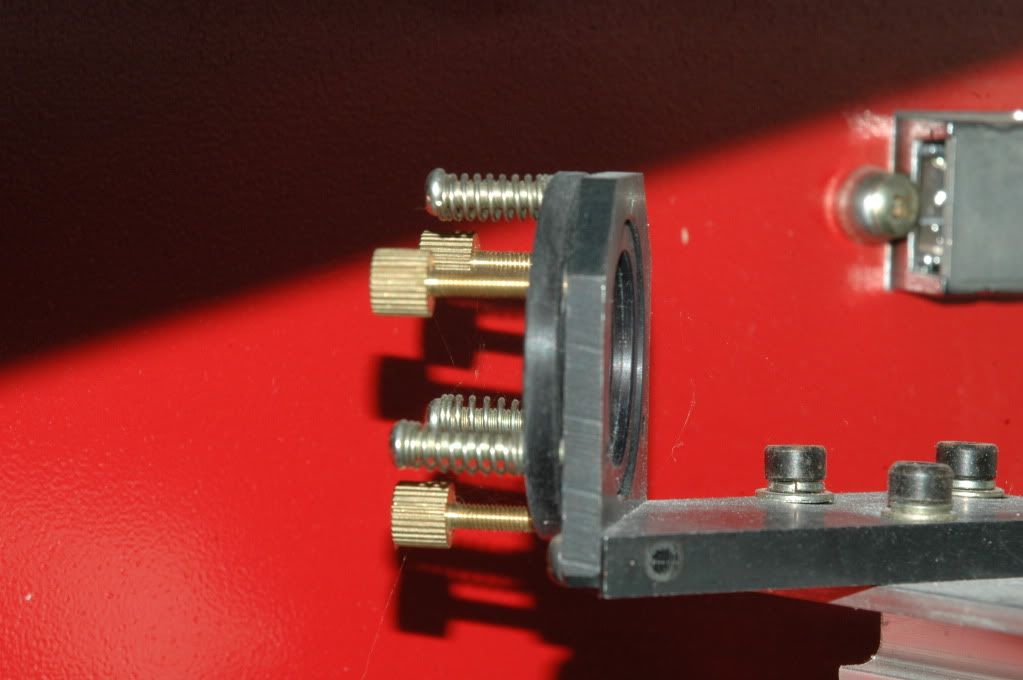
Once you are happy it is in in as central a position as you can make it, drop the test piece onto the table under the lens, focus in the usual way and fire manually enough to produce a hole (1 sec or less on my 60 watt tube with 3 mm material). It should leave a hole perfectly circular and uniform on both sides if you can measure it's diameter it would be 0.1 mm wide. You can see that here:
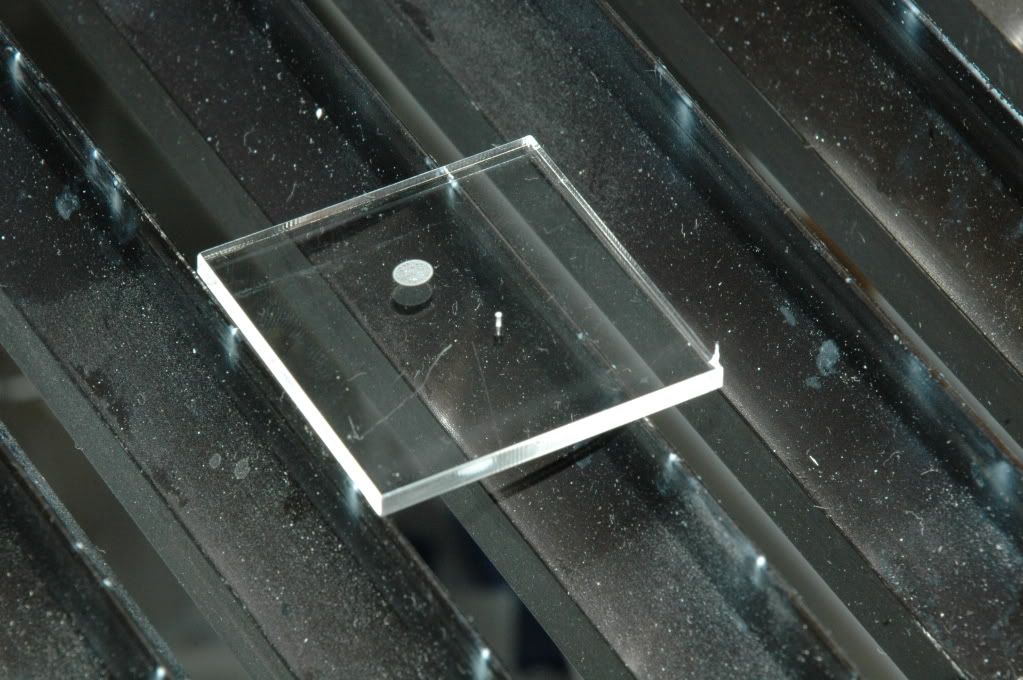
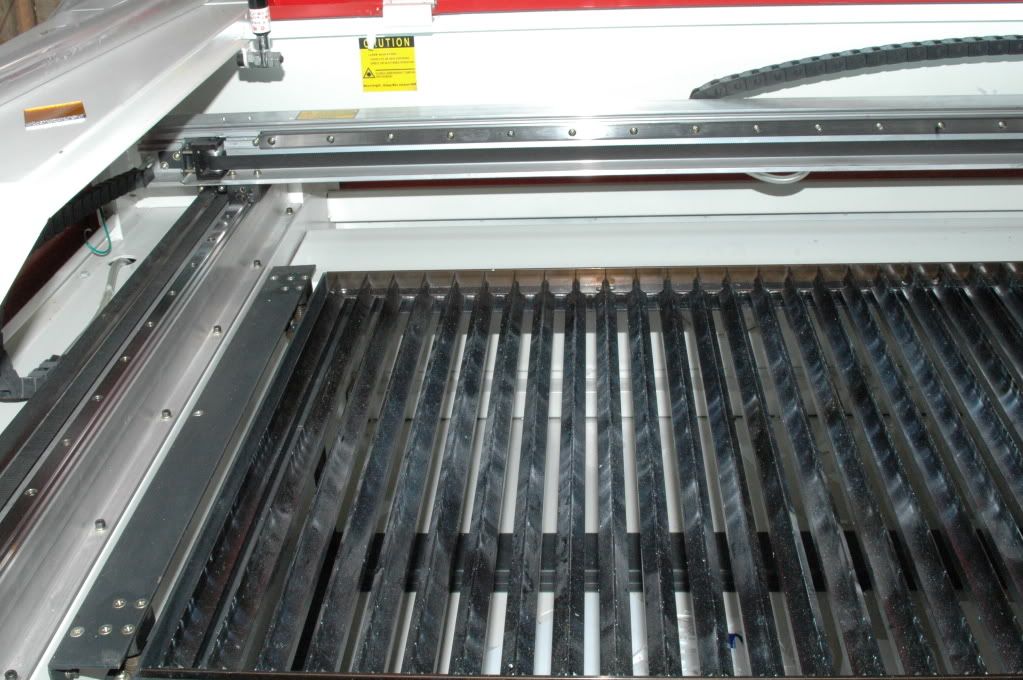
Don't forget to check the usual suspects for undesired results, look at this situation where a tiny off cut from a 1 mm hole core had found it's way under the table at one end inclining it by 2 mm across it's long side. Not always obvious but will generate a loss of focus from one end to the other. Keep a brush handy is the morale.
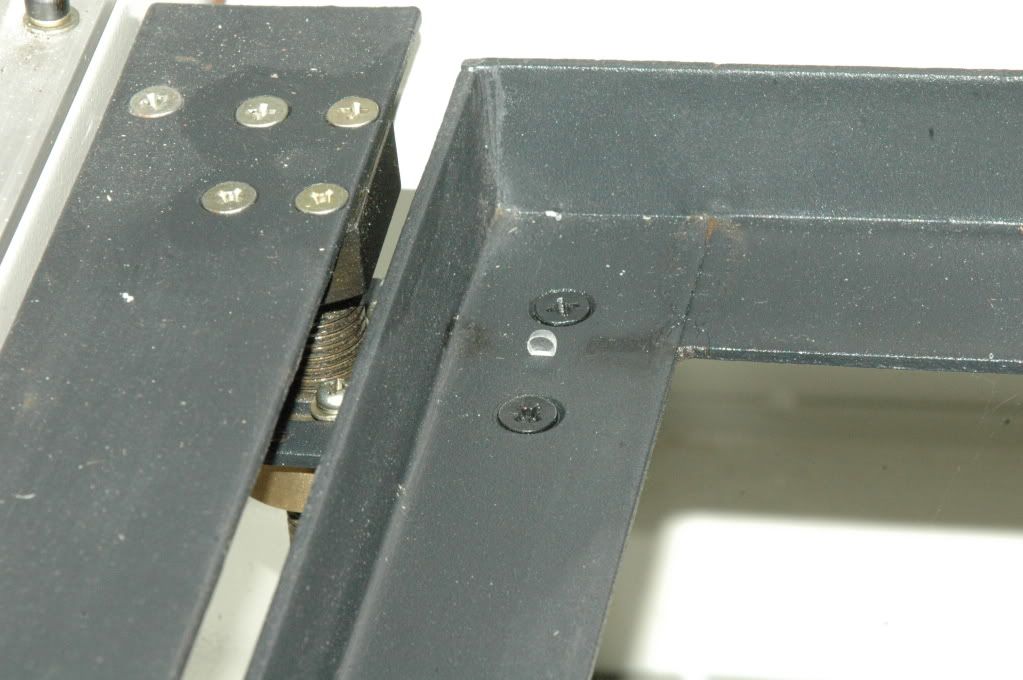
It's about time this table was cleaned, we had to cut smelly styrene and it leaves a sticky oily residue which will stick to the face of nice clean acrylic. Charlotte gave me a great tip to use oven cleaner like Mr Muscle (UK) it's basically a strong grease cutting detergent, but alloy wheel cleaner works just as well, remember rinse thoroughly .